Wainscoting, a classic treatment for walls adds elegance and character. It’s possible to do wainscoting in any room regardless of whether you want a classic or a contemporary look. Here is a step-by-step guide on how to do wainscoting on a wall, from choosing materials to installation. With appropriate tools and attention to detail, you will achieve polished and professional finishes that bring out the beauty of your space.


What is Wainscoting?
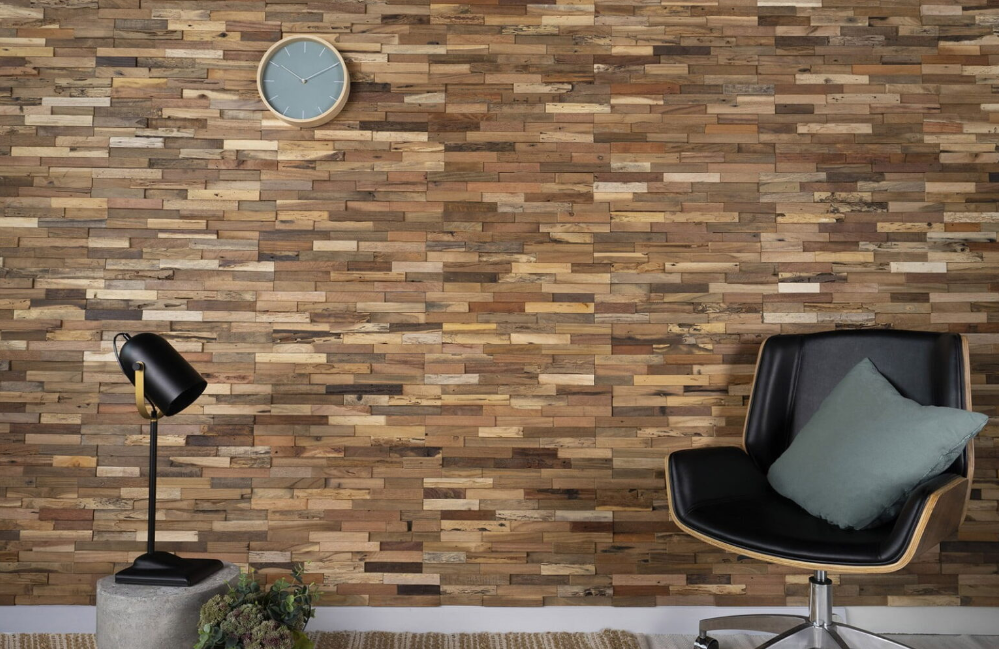
Wainscoting is a decorative wall paneling that is primarily used on the lower third of walls to add visual appeal and protect them. Although this design technique has a traditional interior origin, it has become a popular choice for both modern and traditional houses.

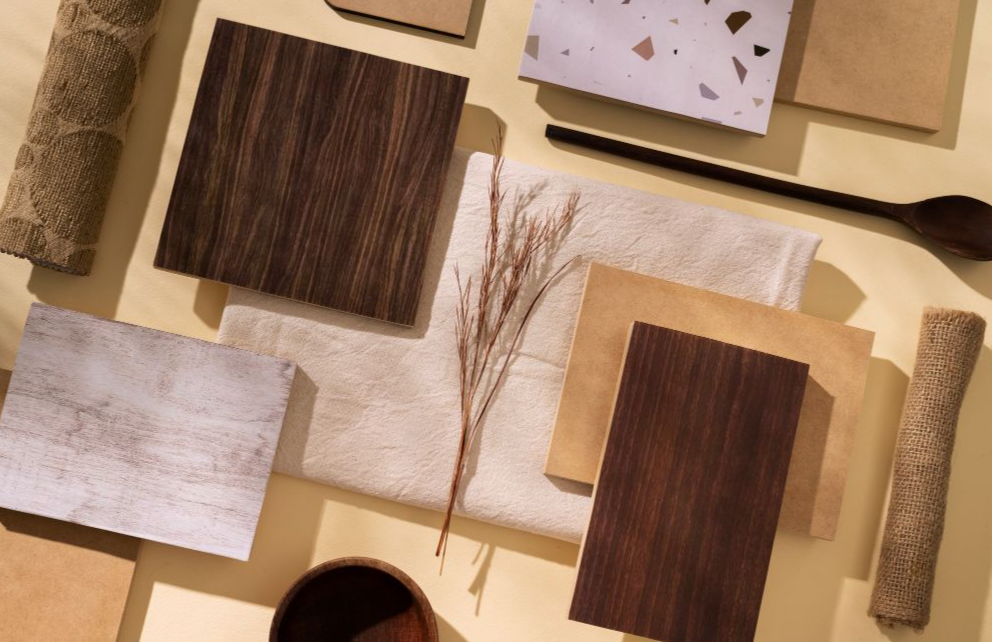
Thus, wainscoting can be made of different materials, including wood, MDF, or PVC. One of the most appealing and common choices is wooden slat walls that provide a clean natural texture suited for any space irrespective of your choice between classic or contemporary styles.
Tools and Materials You’ll Need:
Collect all the required tools and materials to complete before starting your how to do wainscoting on a wall project so that you can save a lot of time and energy through proper preparation.
Wainscoting panels (wood, MDF, or other)
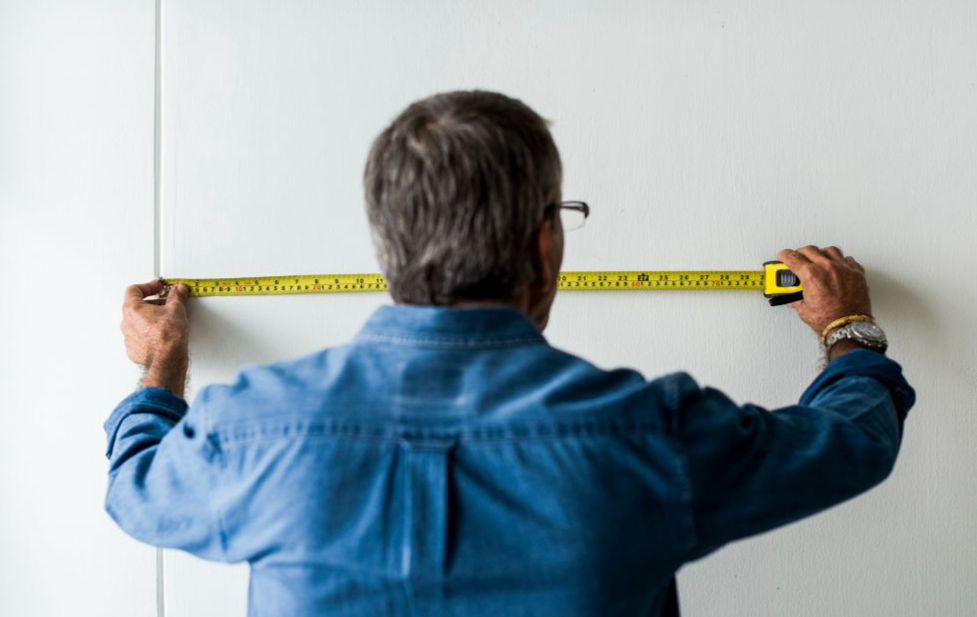
Measuring tape
Level
Miter saw or hand saw
Nail gun or hammer and finishing nails
Construction adhesive
Caulk and caulking gun
Paint or stain (if needed)
Sandpaper
Paintbrush or roller
Safety equipment (goggles, gloves)
Now that everything is available for use, you can commence how to do wainscoting on a wall project promptly, thereby ensuring efficiency in the process and achieving professional outcomes.
Step-by-Step Guide on How to Do Wainscoting on a Wall
Adding wainscoting to the walls can instantly make any room look better. This step-by-step guide will show you how to do it easily.
Step 1: Plan and Measure the Wall: First, figure out where your wainscoting panels will be placed. Commonly, wainscoting is about 32 to 36 inches high from the ground but you may choose differently depending on your taste or the aspect ratio of the room in question. After determining height, take a measuring tape as well as a pencil, thus draw a horizontal line over the wall where the wainscoting should stop.
Step 2: Prepare the Wall: If there are imperfections or unevenness on your wall, you should fix them before this process continues further. The most appropriate surface for wainscotting is a smooth one. Remove bumps with sandpaper, get rid of old paint and wallpapers, then keep sandpaper within arm’s reach.
Step 3: Cut and Prepare Wainscoting Panels: Measure carefully the height and width of your wall depending on the type of wainscoting (conventional, beadboard, or modern wainscoting walls). Use a miter saw to angle cuts around corners or window frames precisely. Do not forget to include chair rails or baseboards if they will be applied as an ornament.
Step 4: Install the Bottom Rail: Before you place the panels, install the bottom rail (baseboard) first. This rail acts as the framework for your how to do wainscoting on a wall task, so make sure it is leveled before it is fixed. Use construction adhesive and nails to attach it to the wall surface. To get maximum results, use a level to ensure this panel comes out straight as an arrow.
Step 5: Attach the Wainscoting Panels: Put some glue at the backside of each panel, then press them on the wall from one point. Ensure they are all leveled, then fasten them using either nails or a nail gun. If you use Woody Walls’ prefabricated panels, you will save time as they only click together.
Step 6: Install the Top Rail and Cap: After putting up all the panels, install the top rail or chair rail, which gives a complete look to the wainscoting while protecting the upper part of the wall surface. Use some adhesive to attach it as well as nails for securing purposes. For added details, you can cut them into 45-degree angles with a miter saw for sharp edges.
Step 7: Fill Gaps and Holes: After securing all the pieces, use caulk to fill in any gaps between the panels and the wall. Apply wood filler to fill nail holes, and sand any rough areas for a smooth finish. Caulking and sanding will ensure your wainscoting has a polished, seamless look.
Step 8: Paint or Stain Your Wainscoting: Now that your wainscoting is installed, you can choose to paint or stain it to match the room’s decor. If you’ve used wooden panels, staining will bring out the natural grain, giving your room a warm, organic feel. For a more classic look, opt for a crisp white or neutral paint color that complements the rest of the room. When painting, use high-quality primer and paint to ensure long-lasting durability.
Step 7: Fill Gaps and Holes: Once all materials have been assembled, find gaps between boards and walls, then caulk them with caulk. Then, find nail holes and fill them with wood fillers before sanding down any rough patches for smoothness. To achieve an elegant finish, carry out the caulking process and sanding.
Step 8: Paint or Stain Your Wainscoting: It is time to paint or stain it according to the interior designs of the room. If you use wooden boards, their staining will produce effects reminiscent of the warm feeling, associated with natural wood grains. For a more classic appearance, use bright whites or neutral paint which blend well with other colors in your living space. While painting consider high-quality primers and paints that will last longer without fading.
When you follow these procedures, you will have walls wainscoted to perfection, which adds a touch of class and beauty to any room.
Why Wainscoting from Woody Walls?
Woody Walls presents an array of modern wainscoting wall options, which are stylish and functional. With their easy-to-install panels, achieving a sophisticated look becomes a swift process.

Whether you aim to achieve a rustic charm or sleek modernity, premium timeless wood materials from Woody Walls cater to all tastes.
Conclusion
Beautiful wainscoting can be established in your area by following these approaches of how to do wainscoting on a wall. To be more precise, wainscoting adds style to your walls while guaranteeing durability through material selection and careful installation procedures.
Be sure to explore Woody Walls’ wide selection of wooden slat wall panels and other wainscoting products to find the perfect fit for your home. So begin that DIY project now with Woody walls and enjoy refreshing your living space!